
We completed our first ever Chaos to Calm house and it was amazing!
If you don’t know, “Chaos to Calm: The 1 Day Organized Chaos Overhaul” is a project I started where I travel around the country and declutter & organize my followers’ homes for FREE in 1 day!
It was a bit ambitious and I still can’t believe I started this project. I’ve actually completed two so far as I’m typing this and both times I had a crisis of confidence. “What am I doing!?” “Is this worth it?” “Will they like it?” “Am I really leaving my kids on my day off to work at someone else’s house!?”
But now, I can confidently say I’m making a difference and it is very much appreciated!
I thought it would be helpful, after each session, if I gave you a rundown of everything I used on each house. I have posted a full length video and a short video on the project, but to be super thorough I wanted to give you more visuals to help you when you tackle your own house.
Let’s work room by room starting with bathroom #1.

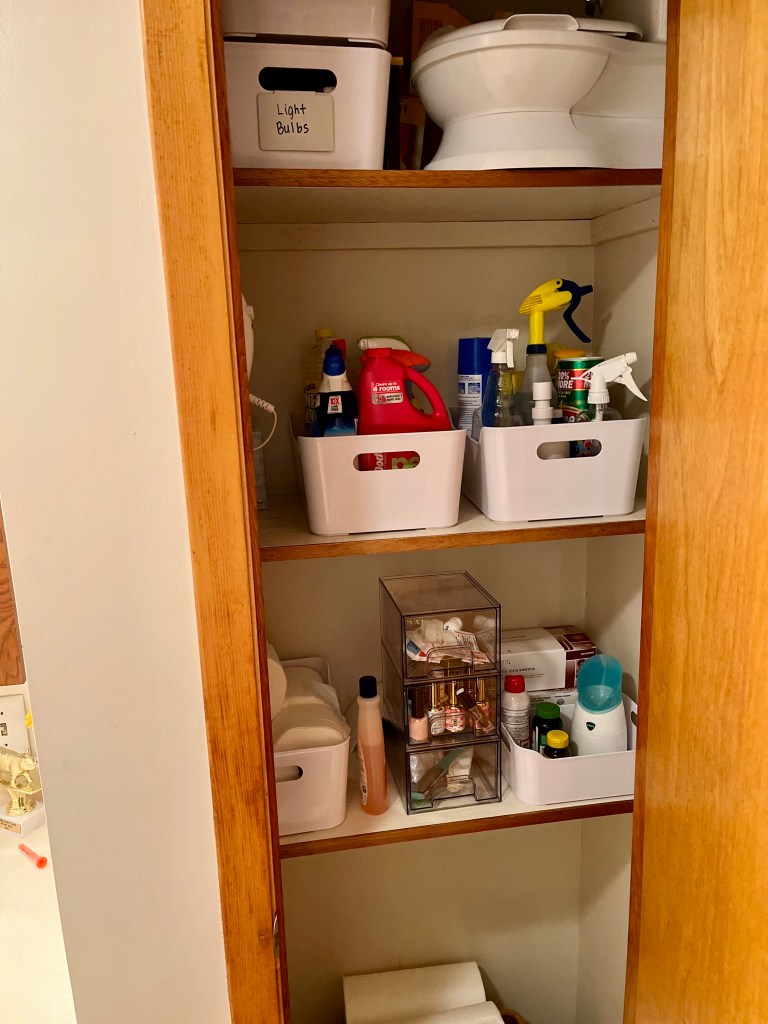
First off were my Bino bins.
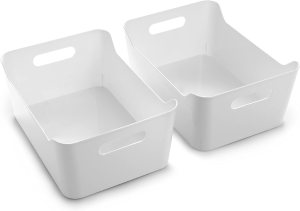
These are great for corralling objects. I use them in my freezer. A problem a lot of bathrooms have is that there’s no good way to grab something from the back of the shelf without knocking over everything in front of it. With these bins, you can slide them back and forth to grab objects easily.
The next organizer I used in here were my acrylic drawers.
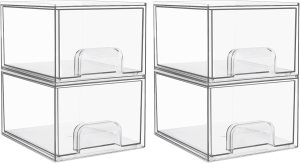
I particularly like these under sinks. I wasn’t sure if I would be able to use them in their bathroom closet, but it worked out great. She had a bunch of nail polishes and accessories, so these drawers were perfect for that. And even though the shelves were longer than the drawers, I didn’t waste any space because I stuck her UV light behind the drawers. It’s not something she was using often, so storing it behind the nail polish works great.
The only other organizer I used in here was a shelf riser.

These shelves were very tall. To utilize as much vertical space as I could, I used these risers. A lot faster and easier than rebuilding her shelves to a smaller height! Just kidding, I’m not that ambitious!
Moving on to the toy area.


First up, my organizer with the bins.
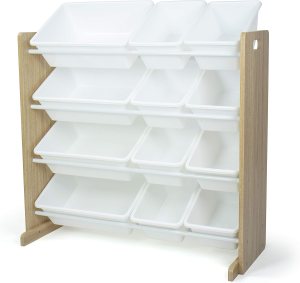
This is perfect for little kids. I use cubby storage a lot when organizing a kid’s room. However, when they’re really little, the bin storage works better. Typically littler children have a lot of smaller toys and so the cubes aren’t as efficient because there is too much unused space and because the cubes are solid, you can’t see what’s inside. That doesn’t work with toddlers. They need to be able to see what they have to put items away.
Next up, my cube storage.
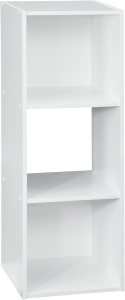
*Click the picture for the link
You’ll notice I use cube storage systems A LOT in my organizing. Are they the most expensive, aesthetic looking pieces??? No. But what’s my rule?? Practical OVER aesthetic. These cubes are so practical. It’s basically my basket method on steroids, right? You just toss items in. No special folding or sorting. Anyone can use them, even littles which is vital because I believe children should clean up after themselves and the only way they will is if you make it easy for them. Remember, the harder the system is to follow the more likely you will fail.
Now, I usually buy the 6 cube system. However, the area where I was putting this piece was short. So 3 was all I could fit.
Next up was my bean bag storage.

*Click the picture for the link
This bean bag holds an INSANE amount of stuffies, throw blankets, pillows, etc. It looks a little sad in the picture I took, but the homeowner said they had a lot of blankets they planned to put in there. It’s the BEST solution for those items.
The only other thing I used in this area was my basket (that I use for the basket method).
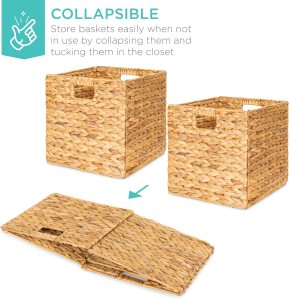
*Click the picture for the link
These are perfect for so many reasons.
- They collapse so you can easily store them in your home.
- They look nice in ANY home. They go with almost any decor.
- They’re the PERFECT size! They aren’t so big that you can get away with stuffing everything in them or struggle finding a spot to sit them. But, they aren’t so small that you can’t put anything in there.
Finally for the final area of this project, bathroom #2.

I used the Bino bins and shelf riser that I used in bathroom #1 and then I also used,
my jewelry organizer

*Click the picture for the link
I’m obsessed with this thing. I use one in my house. It’s PERFECT for keeping your jewelry organized AND out of the way. We used this to replace this large jewelry box she had. We eliminated a container that was probably 15 inches by 20 inches and several inches deep for something that’s 6.7 x 9.6 and like 2 inches deep. So needless to say, it was a HUGE space saver.
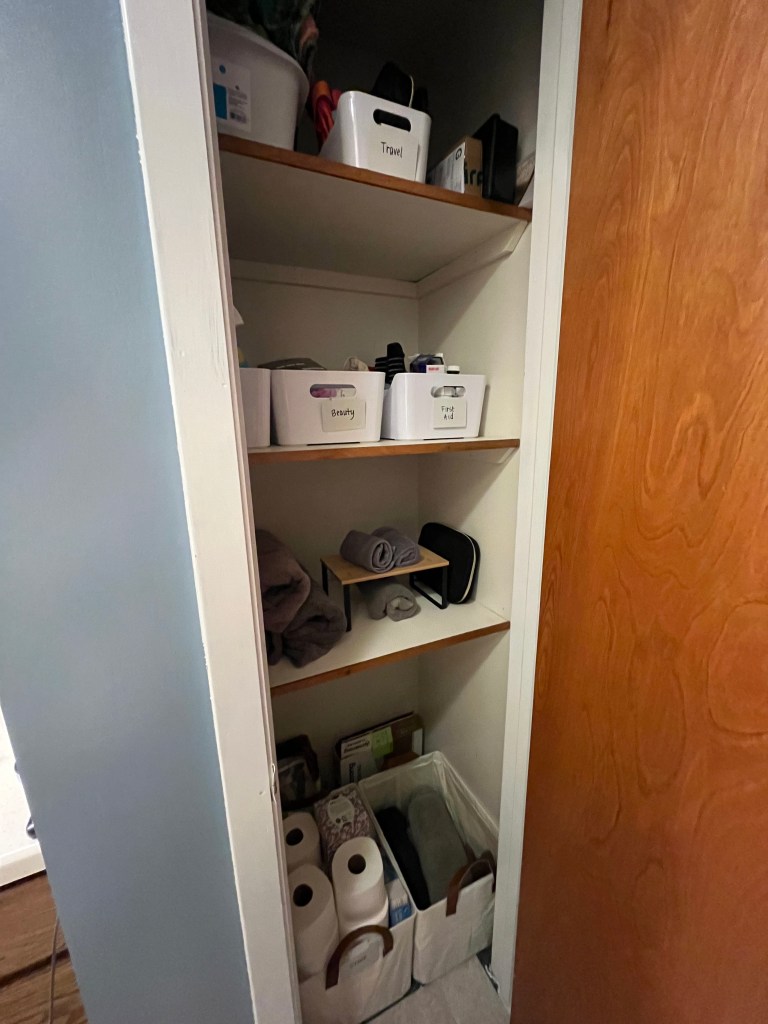
Finally, the last thing I used were these canvas totes I had.

*Click the picture for the link
I actually just brought them because I had them. I didn’t actually know I’d need them. But they were perfect for storing her extra toilet paper and towels.
If you’d like to watch the full transformation, you can find it here: https://youtu.be/S2RUdxxvN38?si=91lAqrmhSGbUFKu6
And, that’s it! My very first Chaos to Calm project, complete! Did you enjoy this in depth look at the organizational systems I used and my explanation for them? Let me know in the comments!
